How to Make a Grateful Dead Tie-Dye: A Step-by-Step Guide
Ever dream of creating your own Grateful Dead tie-dye shirt that’s as vibrant and psychedelic as a live Dead concert? Well, guess what? You can! Whether you’re a tie-dye newbie or a seasoned pro, crafting your own Grateful Dead-inspired shirt is an awesome way to show off your love for the band while flexing your creative muscles. So, let’s dive into the tie-dye world and learn how to make your very own groovy masterpiece!
What You’ll Need
First things first, let’s gather up the essentials. Here’s a list of the supplies you’ll need to make your Deadhead tie-dye dreams come true:
- White cotton shirt (or any fabric you want to dye)
- Tie-dye kit (You can easily grab one online or from a craft store)
- Rubber bands
- Plastic squeeze bottles (if not included in your kit)
- Plastic tablecloth or garbage bags (to cover your work area)
- Gloves (to avoid tie-dye hands for the next few days)
- Plastic bags (for setting your shirt after dyeing)
- Water (for rinsing and mixing dyes)
Step 1: Choose Your Design
There are endless tie-dye patterns you can try, but if you’re going for that classic Grateful Dead vibe, the spiral design is an all-time favorite. Here’s how to achieve it:
- Lay your shirt flat on a clean surface.
- Pinch the center of the shirt and twist it in a spiral pattern.
- Keep twisting until your entire shirt is rolled up into a swirl shape.
- Secure your twisted shirt with rubber bands, dividing it into sections like a pizza.
Step 2: Prepare the Dyes
Most tie-dye kits come with powdered dyes that need to be mixed with water. Follow the instructions on your kit for mixing. Be sure to wear gloves during this step to keep the dye on your shirt, not your hands!
Step 3: Apply the Dye
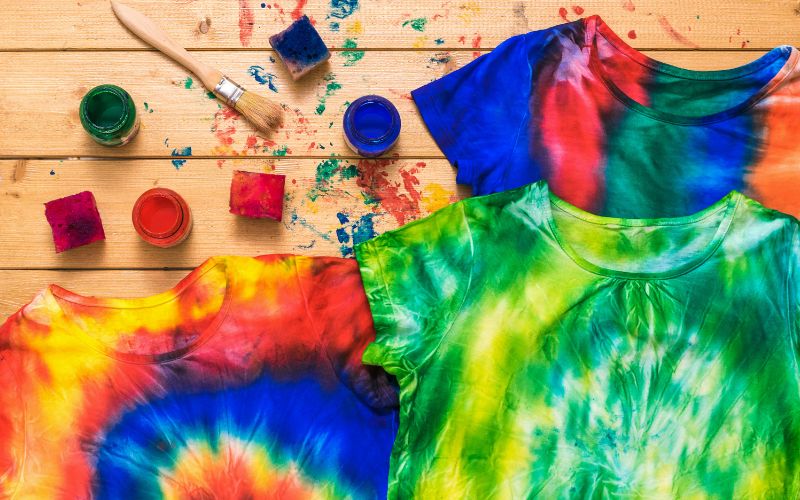
Here’s where things get fun! Grab your prepared dye bottles and start adding color to the sections of your shirt. You can apply one color per section, or mix it up by blending different colors for a more psychedelic effect. Classic Grateful Dead colors include deep blues, bright reds, vibrant yellows, and electric greens.
Pro Tip: Don’t be afraid to experiment! There are no “rules” in tie-dye—just like in a Grateful Dead jam, anything goes.
Step 4: Let it Set
After you’ve soaked your shirt in color, place it in a plastic bag to keep it moist and let the dye set. Leave it overnight (or for at least 6-8 hours) so the colors really saturate the fabric. Patience is key here—letting the dye sit longer usually results in brighter, more intense colors.
Step 5: Rinse and Reveal
Once your shirt has soaked for a good while, it’s time for the big reveal! Rinse your shirt under cold water while it’s still tied up, removing any excess dye. When the water runs clear, remove the rubber bands and admire your creation.
At this point, you’ll probably be blown away by how the colors have blended and swirled into a vibrant, Grateful Dead-inspired masterpiece. Each one is unique, just like each Dead show!
Step 6: Wash and Wear
Before you toss your new tie-dye into the washing machine, give it one more rinse in cold water. Then, wash it separately (cold cycle) to prevent the colors from bleeding onto your other clothes. Once it’s clean and dry, throw on your new shirt and get ready to turn heads with your DIY Grateful Dead gear!
Customizing Your Grateful Dead Tie-Dye
Want to take your shirt to the next level? Here are a few ideas:
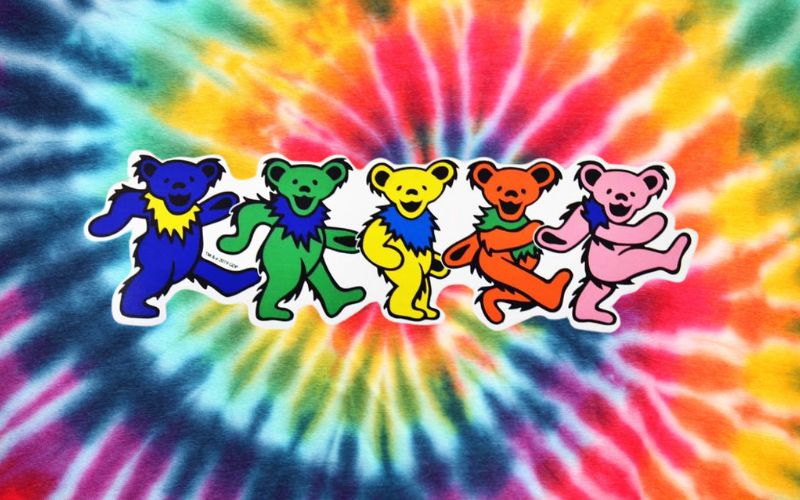
- Add a Stencil: After tie-dyeing, use fabric paint or a stencil to add the iconic Grateful Dead “Steal Your Face” skull or dancing bears.
- Layer Your Colors: Experiment with adding a second layer of dye to create more intricate designs and deeper colors.
- Make a Matching Set: Why stop at just a shirt? Tie-dye a pair of socks, a bandana, or even a tapestry for your wall.
Wrapping it Up
There you have it, fellow Deadheads! Making your own Grateful Dead tie-dye is a fun and creative way to express your love for the band and rock some unique, head-turning gear. Each piece you create is one of a kind, much like the band’s music, full of color, energy, and personality.
So grab your supplies, crank up your favorite Dead tunes, and start twisting, dyeing, and grooving to your own creative beat. And hey, once you’ve made your first tie-dye masterpiece, you’ll be hooked—just like listening to your favorite live version of “Scarlet Begonias” on repeat.
Peace, love, and happy dyeing!


